The art of highlighting and contouring has evolved into a sophisticated technique that transcends mere makeup application. It’s a transformative process, one that requires an understanding of facial anatomy, light play, and personal aesthetics. While the basics of highlighting and contouring are widely known, the nuances of placement—where to apply these products for maximum effect—are often overlooked. This deep dive into the subject will explore the intricacies of highlighter and contour placement, offering insights that go beyond the conventional wisdom.
The Science Behind the Glow
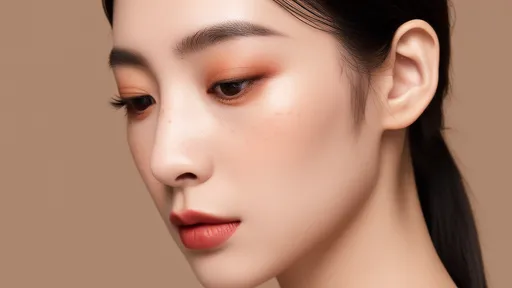
Highlighting and contouring are rooted in the principles of light and shadow. The human eye is naturally drawn to areas that reflect light, while shadows create depth and dimension. When applied correctly, these techniques can alter the perception of facial structure, enhancing or minimizing features with strategic placement. The key lies in understanding how light interacts with the face. For instance, the high points of the face—cheekbones, brow bones, and the bridge of the nose—are natural reflectors. Applying highlighter here mimics the way light naturally hits the skin, creating a luminous effect.
Contouring, on the other hand, relies on creating shadows where they wouldn’t naturally occur. This is particularly useful for softening angular features or adding definition to a softer face shape. The hollows of the cheeks, the jawline, and the sides of the nose are common areas for contouring. However, the exact placement varies depending on individual facial structure. A one-size-fits-all approach rarely works, which is why many people struggle to achieve a natural-looking result.
The Role of Skin Undertones
Undertones play a crucial role in how highlighters and contours appear on the skin. A highlighter with a cool undertone might look ashy on someone with warm undertones, while a warm contour shade can appear orange on cooler skin. Understanding whether your skin has pink, yellow, or neutral undertones is essential for selecting the right products. For example, those with cool undertones might opt for a highlighter with a pearl or icy sheen, while warmer undertones benefit from golden or peachy tones.
Contour products should be neutral or cool-toned to mimic natural shadows. Warm-toned bronzers are often mistaken for contour products, but they serve a different purpose—adding warmth rather than depth. The distinction is subtle but critical for achieving a realistic effect. When testing products, it’s best to swatch them in natural light to see how they interact with your skin’s undertones.
Advanced Techniques for Different Face Shapes
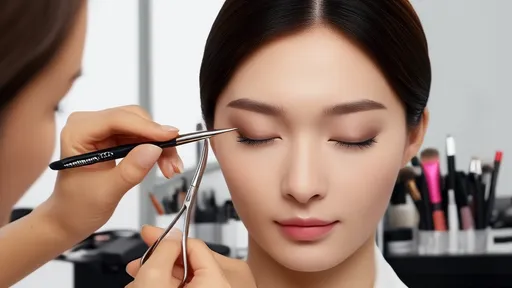
Round faces benefit from contouring along the temples and under the cheekbones to create the illusion of angles. Highlighting the center of the forehead and the chin can also elongate the face. For square faces, softening the jawline with contour and highlighting the cheekbones adds balance. Oval faces, often considered the ideal, can experiment with more dramatic contouring or subtle enhancements, depending on the desired effect.
Heart-shaped faces might focus on contouring the forehead’s sides and the chin’s tip to reduce width, while highlighting the cheekbones draws attention upward. Diamond-shaped faces, with their pronounced cheekbones and narrow forehead and chin, can use contour along the hairline and jawline, with highlighter on the brow bone and under the eyes. The goal is always to create harmony, not to conform to a rigid standard of beauty.
The Impact of Texture and Finish
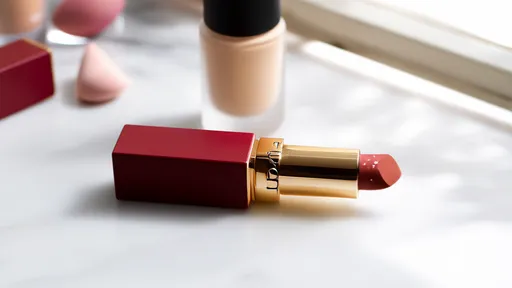
Powder, cream, and liquid formulas each have their strengths. Powder highlighters are ideal for oily skin and offer a soft-focus finish, while creams blend seamlessly into dry skin for a dewy look. Liquids are versatile and can be mixed with foundation for an all-over glow. The finish—matte, satin, or shimmer—also affects the outcome. A matte highlighter can provide a subtle lift without sparkle, while a shimmering highlighter catches the light dramatically.
Contour products follow similar rules. Powder contours are forgiving and easy to blend, making them great for beginners. Cream contours require more skill but offer a more natural, skin-like finish. The choice between them depends on skin type, desired intensity, and personal preference. Layering different textures—like a cream contour topped with a powder—can also enhance longevity and dimension.
Common Mistakes and How to Avoid Them
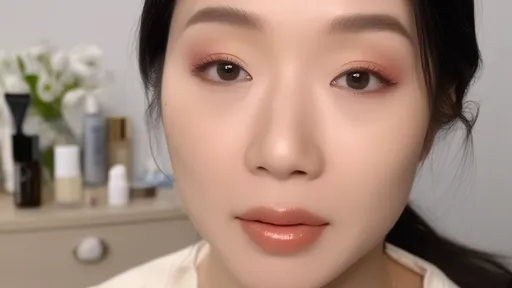
Over-application is a frequent issue. The mantra "less is more" holds true, especially with contouring. Heavy-handed application can result in harsh lines or an overly sculpted look that appears unnatural. Blending is the unsung hero of contouring and highlighting. A damp beauty sponge or a fluffy brush can diffuse product seamlessly, ensuring no visible edges.
Another mistake is using the wrong shades. A highlighter that’s too light can look stark, while one that’s too dark might not provide enough contrast. Similarly, a contour shade that’s too dark can appear muddy. Testing shades in natural light and building up gradually helps avoid these pitfalls. Lighting is also crucial—what looks good in dim bathroom lighting might not translate well outdoors.
Cultural and Historical Context
Highlighting and contouring aren’t modern inventions. Ancient Egyptians used kohl to define their eyes and ochre to contour their cheeks. Elizabethan actors applied chalk and soot to exaggerate features under harsh stage lights. The technique gained mainstream popularity in the 20th century, thanks to Hollywood makeup artists who used it to sculpt actors’ faces for the camera. Today, social media has democratized these techniques, with tutorials making them accessible to everyone.
However, the trend has also sparked debates about unrealistic beauty standards. The line between enhancement and alteration can blur, leading to pressure to conform to an idealized image. It’s important to remember that makeup is a form of self-expression, not a requirement. Whether you prefer a subtle glow or dramatic sculpting, the choice should always be personal.
Final Thoughts
Mastering highlighter and contour placement is a journey, not a destination. It requires patience, practice, and a willingness to experiment. The most important thing is to have fun with it—makeup is, after all, a creative outlet. Whether you’re preparing for a special occasion or just want to elevate your everyday look, understanding these principles will help you achieve a flawless finish. And remember, the best makeup look is one that makes you feel confident and beautiful.
By /Jun 28, 2025
By /Jun 28, 2025
By /Jun 28, 2025
By /Jun 28, 2025
By /Jun 28, 2025
By /Jun 28, 2025
By /Jun 28, 2025
By /Jun 28, 2025

By /Jun 28, 2025
By /Jun 28, 2025

By /Jun 28, 2025

By /Jun 28, 2025
By /Jun 28, 2025
By /Jun 28, 2025

By /Jun 28, 2025
By /Jun 28, 2025

By /Jun 28, 2025

By /Jun 28, 2025